
Original Image
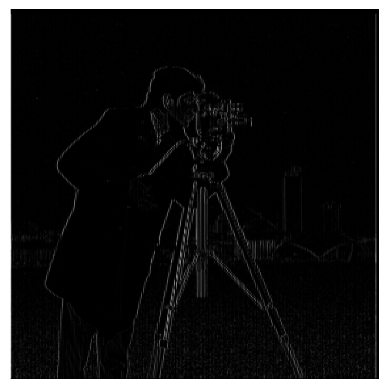
Dx Edge Detector
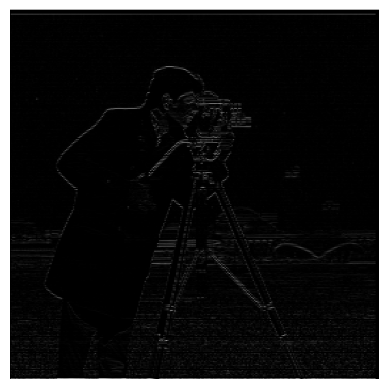
Dy Edge Detector
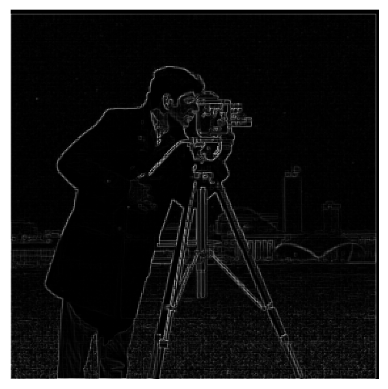
Gradient Magnitude
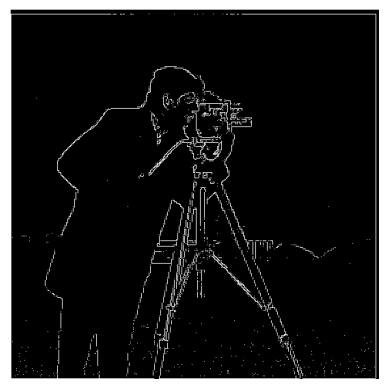
Gradient Magnitude with Threshold
In this project I will be experimenting with differnet image filters and breaking down images into different frequency bands to create some interesting results.
We can show the partial derrivative of an image in the x and y directions by convolving them with [[1,-1]] and [[1],[-1]], respectively.

Original Image

Dx Edge Detector

Dy Edge Detector

Gradient Magnitude

Gradient Magnitude with Threshold
Using the finite difference operator directly on the image was quite noisy as it falsely detected background elements as edges. We can try blurring the image first with a Gaussian low-pass filter to get rid of some of this noise and then apply the difference operator.
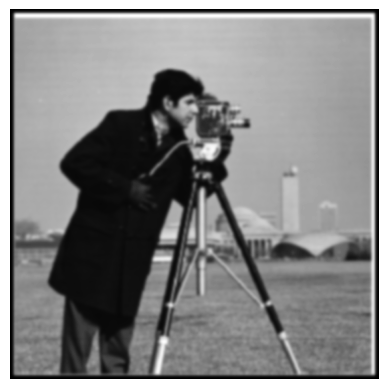
Cameraman Through Low-pass Filter
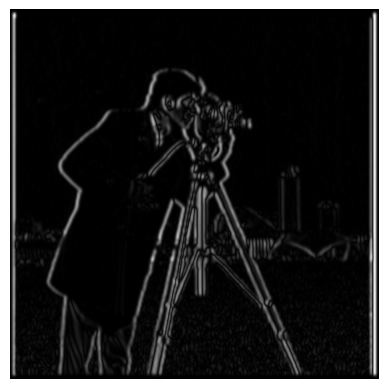
Dx Edge Detector with Gaussian Blur
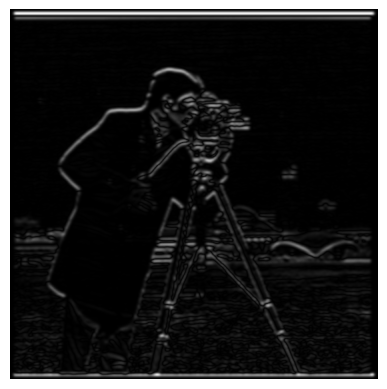
Dy Edge Detector with Gaussian Blur
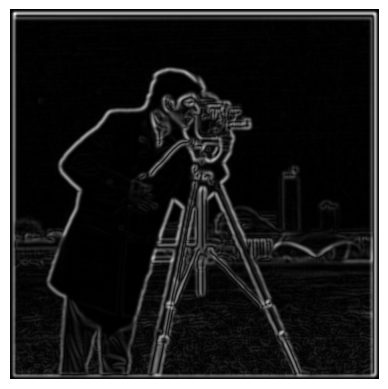
Gradient Magnitude with Gaussian Blur
The edge detection here looks a lot better than our previous attempt, as expected. It removed a lot of the noise that was present in the unfiltered image. Overall it does a better job at detecting edges.
We convolved the image with a gaussian and then a difference operator. Instead of convolving with two filters, we can just convolve with one by combining the two filters we applied. By convolving the Gaussian and difference operators, we can create the Derrivative of Gaussian (DoG) filter. Visualized as follows:
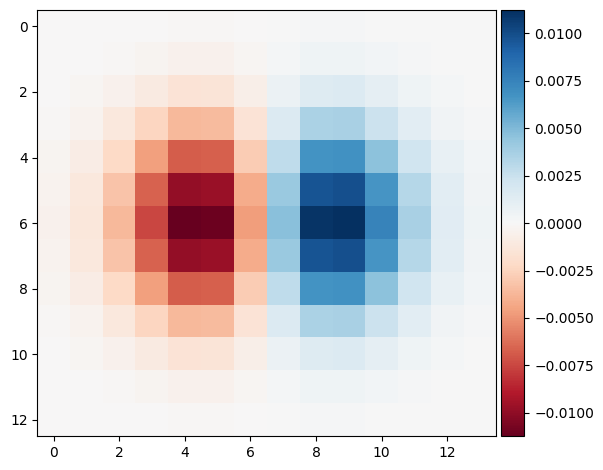
DoG for dx
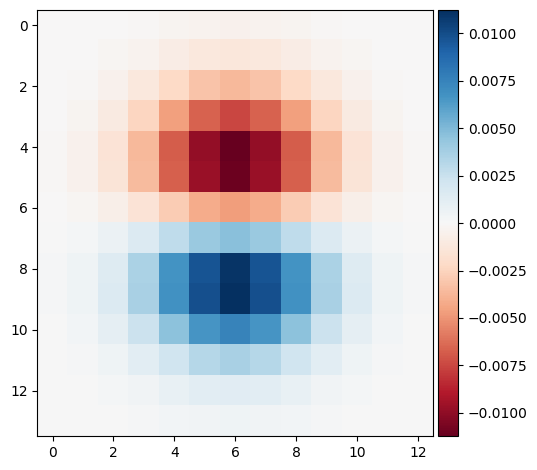
DoG for dy
As we can see the result of using the DoG filters vs using the gaussian and then the difference operators yields the same thing.

Image Through Gaussian then Difference Operator

Image Through DoG Filter
We can create a "high pass filter" to only get the high frequencies of an image by subtracting the original image with a low-pass (gaussian) filter. If we then add more of these high frequencies to the original image, we can create the effect of "sharpening" the image.

Original Image
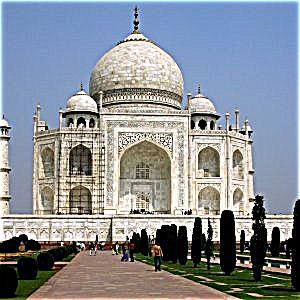
Original Image Sharpened
We can also do all this in one convolution with the Unsharp Mask filter. Here's a picture of a music festival that we can sharpen.
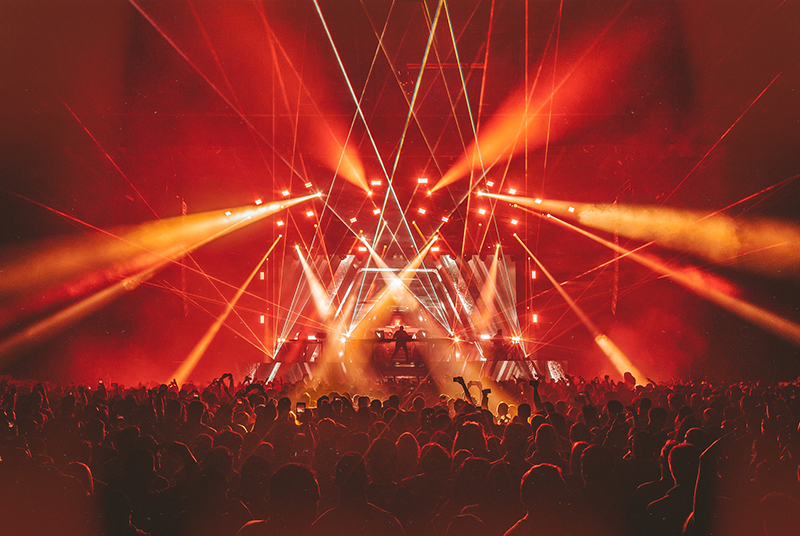
Original Image
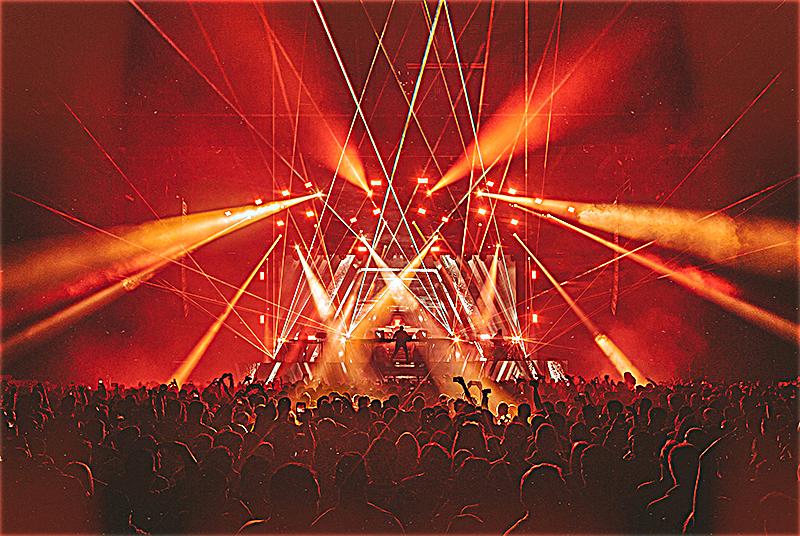
Original Image Sharpened
As an evaluation, we can take an image and blur it and then apply the sharpening procedure.
Blurred Image
Blurred Image Sharpened
It looks like the image still looses some of the detail from the original blur but it's still imrpoved by sharpening.
If we take the low frequency components of an image A and combine it with the high frequency components of another image B, we can make a hybrid image that looks like image A from afar but looks like image B when nearby.
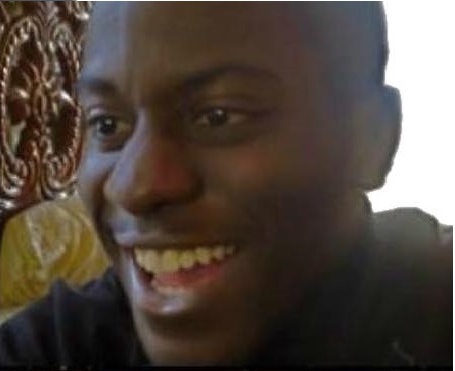
Happy Man
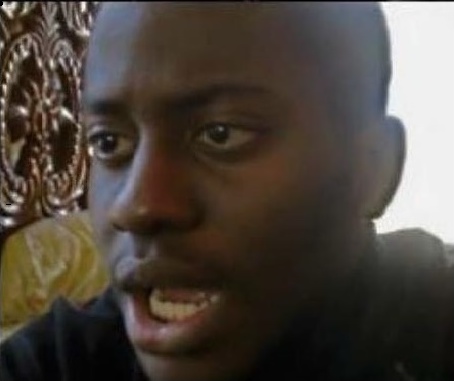
Sad Man
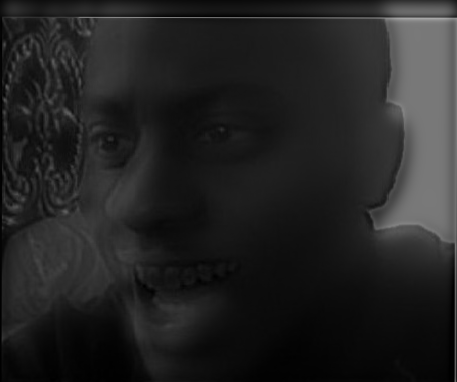
Emotionally Ambiguous Man (High Freq: Happy, Low Freq: Sad)
To see what's happening here, we can take the fourier transform of some of these images and see what the low pass and high pass filter is doing to these images.
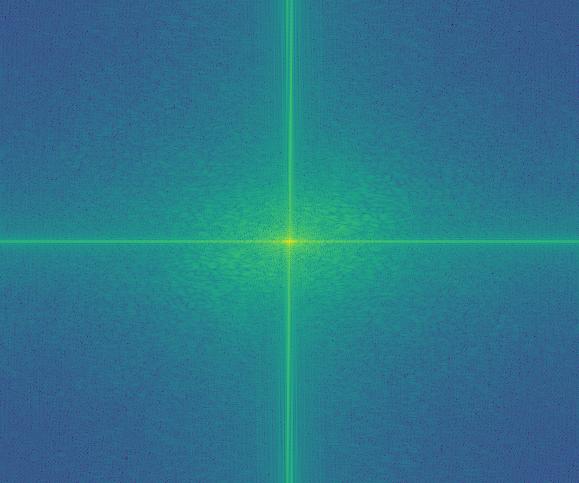
Happy Frequency Before High-Pass
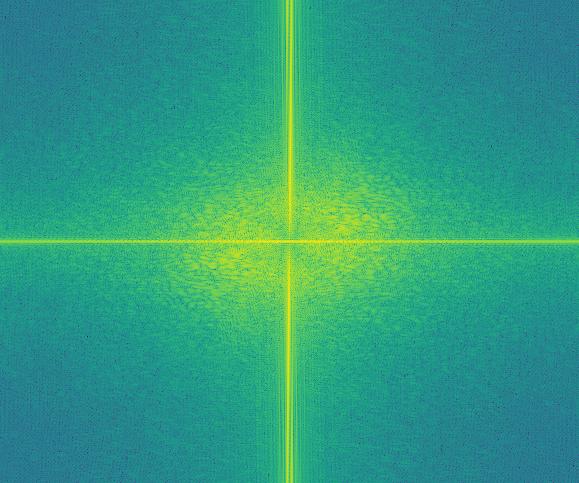
Happy Frequency After High-Pass
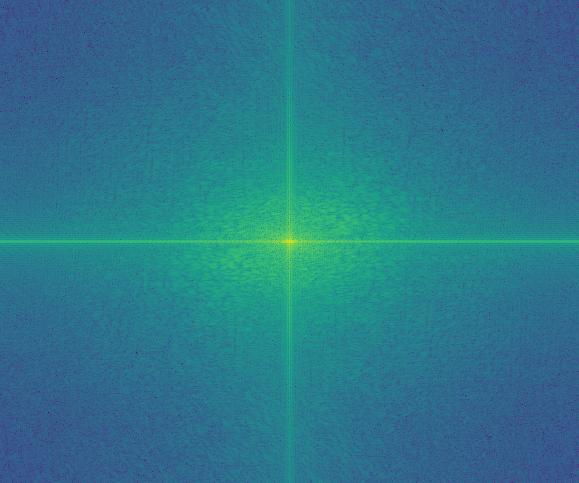
Sad Frequency Before Low-Pass
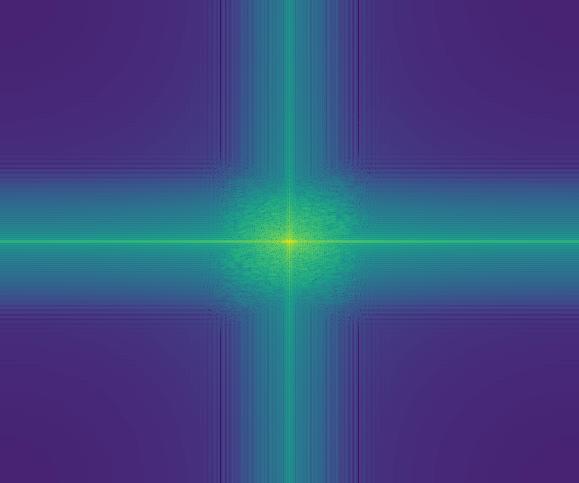
Sad Frequency After Low-Pass
We can see that the high passed image has its high frequencies more pronounced and we can see a weakening of the frequencies near the origin. For the low passed image, it seems to be a lot more dampened near the outer regions compared to its original. This is presumebly because a lot of the high frequencies are cut out.
I also tried doing it with color as well and the results look pretty good as well:

Happy Man

Sad Man
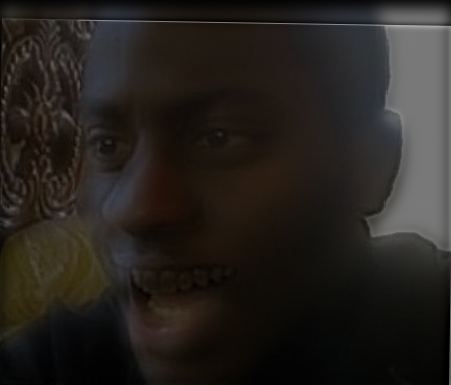
Emotionally Ambiguous Man (High Freq: Happy, Low Freq: Sad)
Here are some other hybrid images I made (the one with the cupcake was a bit of a failure)
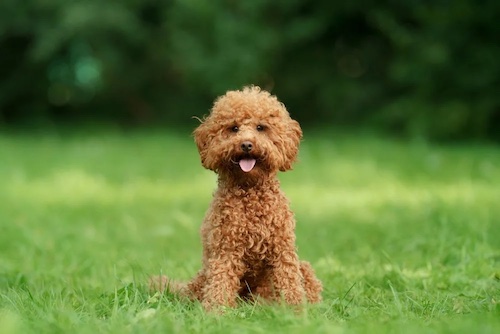
Dog

Cat
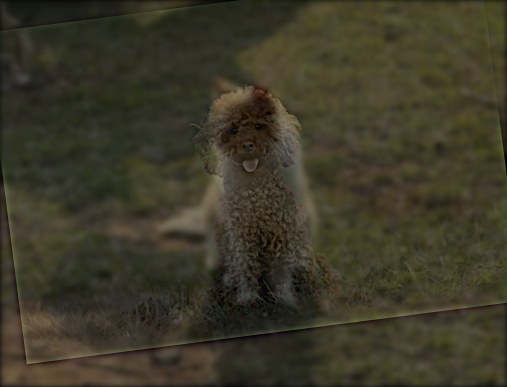
Dog-Cat (High Freq: Dog, Low Freq: Cat)

Nutmeg

Derek
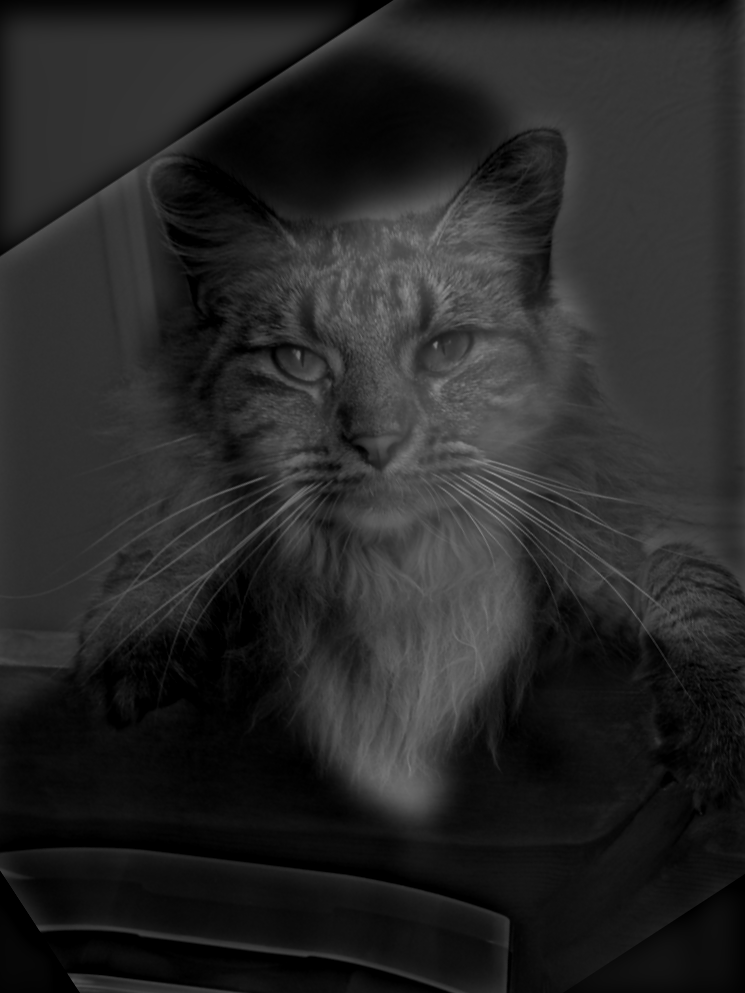
Derek-Nutmeg (High Freq: Nutmeg, Low Freq: Derek)
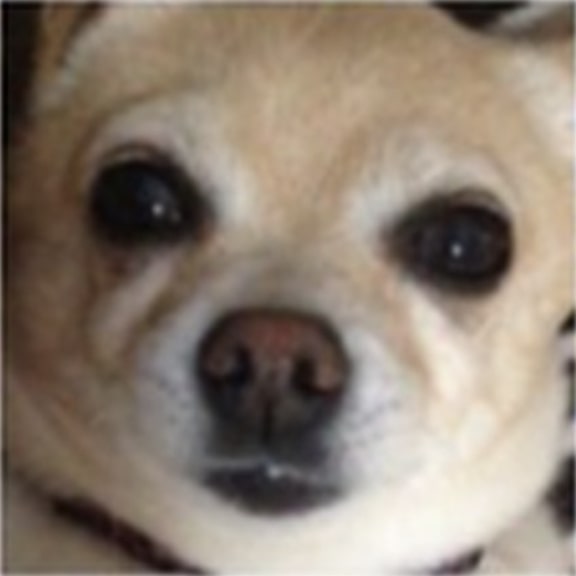
Puppy
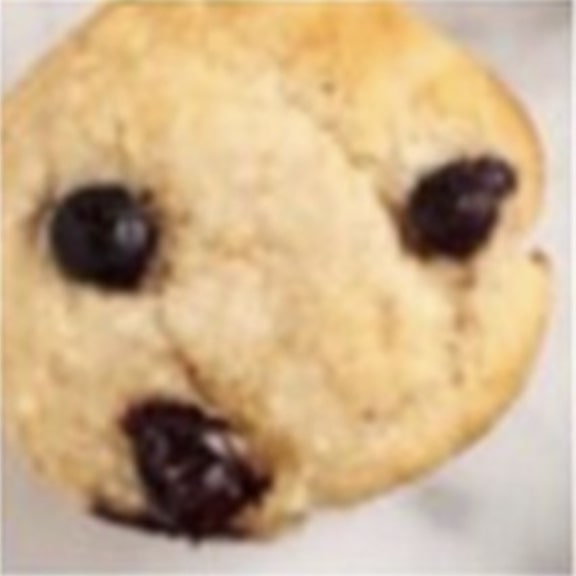
Muffin
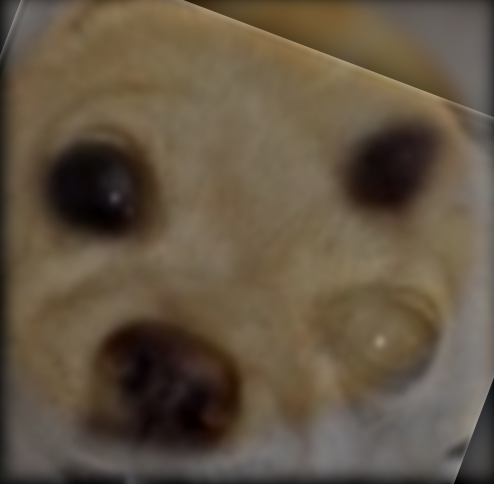
Failed Pupcake (High Freq: Puppy, Low Freq: Muffin)
When blending two images together, we want to ensure the transition is as seemless as possible. Frequencies can help us with this! For an image's high frequencies, we want to ensure the cut is clean because otherwise the image will look ghosty with obvious details fading into the other image. For an images low frequencies, we can make the blending a lot more smooth because we know there aren't any jarring bits. We can break down the images into different frequency bands by constructing a Laplacian stack. A Laplacian stack is made from a Gaussian stack (a stack of progressively more blurry images) and we can take the difference between each level to get a specific band of frequencies. We can see this here with the Oraple:

Laplacian Stack of Apple

Laplacian Stack of Orange
Once we break it down into its frequencies, we can blend them smoothly with a different mask at each level to create the following:

Progression of Apple Blending

Progression of Orange Blending

Apple
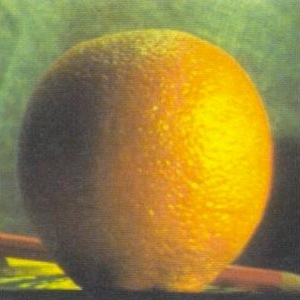
Orange
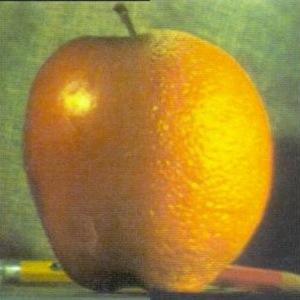
Orapple (Orange + Apple)
We can also do this with an irregular mask (where it's not just a straight line down the middle). The first picture is of a toy Tesla I got at a career fair, and the second is a shot of street parking I took from the 8th floor of Berkeley Way West. Using an irregular mask shown in the third picture, I can smoothly blend the toy car as if it were parked right on the street!
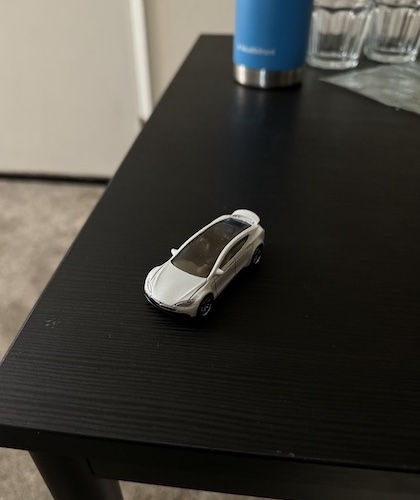
Tesla Toy
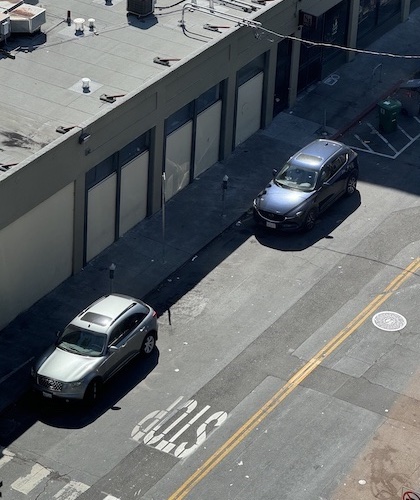
Street View from BWW
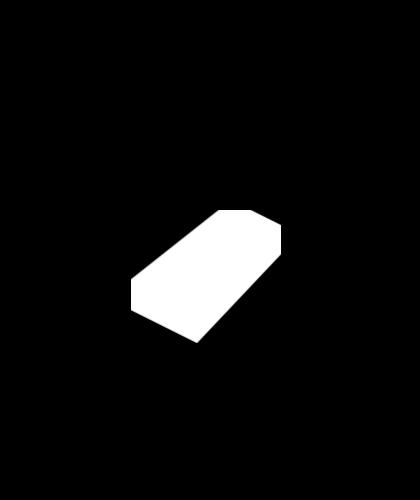
Tesla Mask
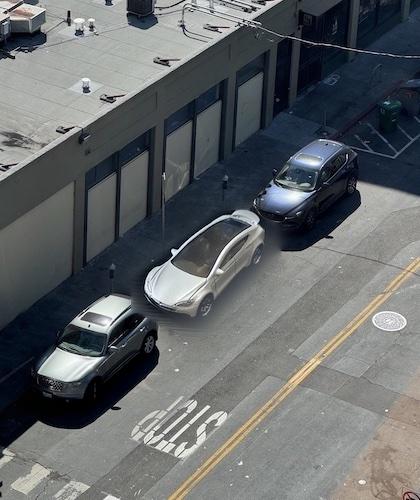
Blended Tesla Toy into Parking Spot
Here are some other results of the blending:
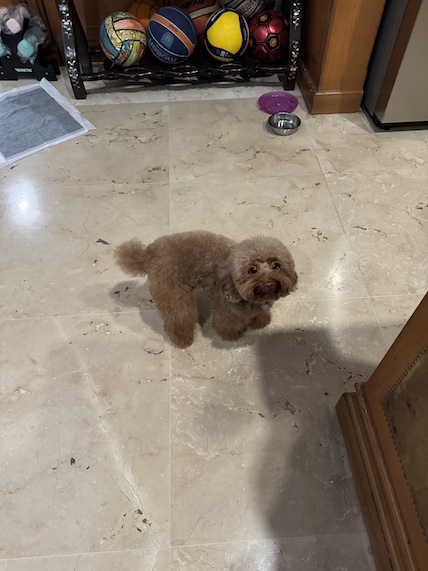
My Dog Mochi (all the way in Indonesia)

The floor on BWW
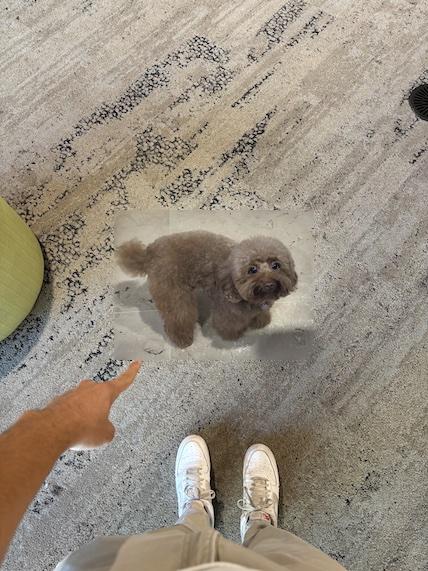
Mochi's here!

Volleyball

Soccerball

Socceyball

Dish of Potatoes

Dish of Brocolli

Dish of Brocolly & Potatoes